
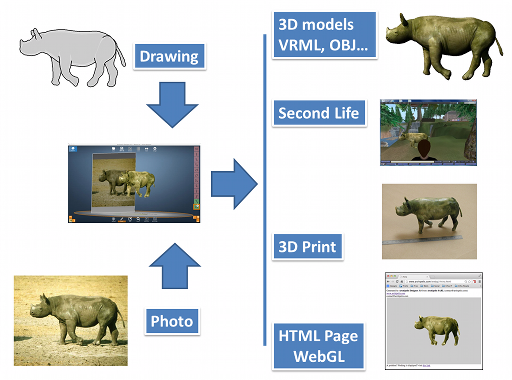
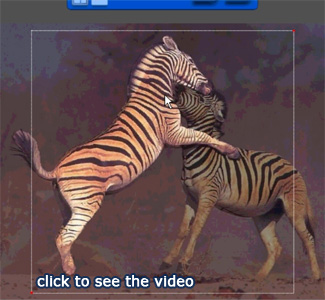
This tutorial shows how to create a 3D model of two fighting zebras with a single photo.
This tutorial should only take about 15 or 20 minutes of your time.
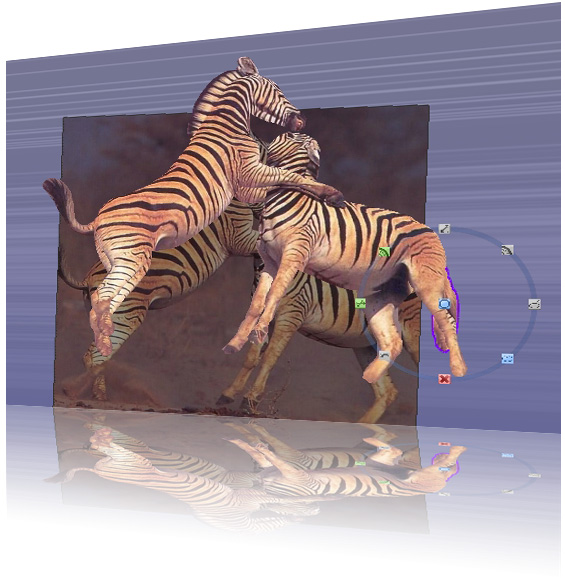
Modify the texture scale of the initial image
We will start with the zebra on the left
Zoom in on the legs
Draw a contour (right mouse button)
Set the modification of the contour mode
Correct the wrong located points
Press [Modify contour]
Draw the head the same way
Draw the arm the same way
Draw the tail
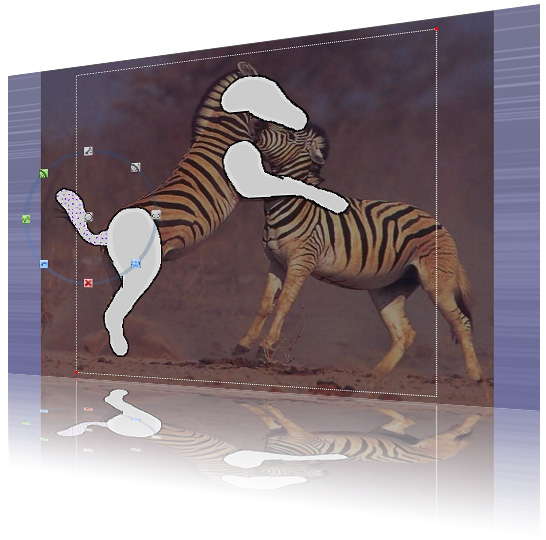
You have 4 new shapes
Zoom of the body
Draw the body
Get an accurate version of the body by modifying the contour as you did before with the head
Add a new group
Draw the hairs and adjust the points by modifying the contour
Having a new group allows you to not merge shapes together
Add a new group
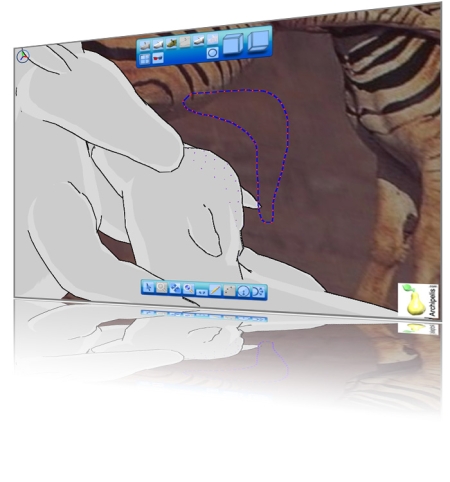
Draw the ear
You have 3 new shapes in 3 groups.
Select the body
Turn around the 3D model
Adjust [Z scale] value
Select the leg
Translate the leg and put it in front with [Z translation]
Select a [Mirror] on [Z]
Turn around the 3D model
Adjust [Y swivel] value
Do exactly the same with the arm
Do exactly the same with the ear
Reduce the [Z scale] value of the hairs
In order to reduce the texture mapping artifacts on the back of the animal, modify again the contour of the body by moving points inner
Now your first zebra is completed
Now let's start the second zebra
Go the to the basic view point
Add a new group
Zoom out
Zoom in on the body
Draw the body
Turn around the 3D model
Adjust the [Z scale] value
Adjust the [Z translation] value
Adjust the [X Swivel] value a bit
Adjust the [Y Swivel] value and try to imagine how this zebra is located based on the image
Readjust the [Z translation] value again
Adjust the points of the contour and press [Modify contour] button
You have 1 new shape in one new group
Now draw one leg after zooming in
Adapt the points and press [Modify contour] button
Update [Z scale] and [Z translation] and [Y swivel] values
Do the same for the 3 other legs
Draw the tail the same way (try to imagine it as we cannot see it)
You have 4 new shapes
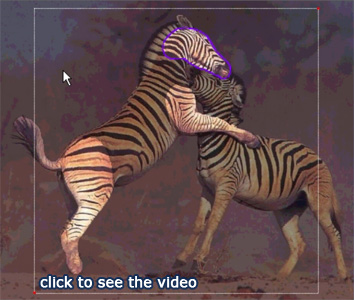
Zoom on the head
Draw the head and adapt all the usual settings of shapes
Add a new group
Draw the ears
Update [Z scale] and [Z translation] and [Y swivel] values
Set [Mirror] to [Z]
To correctly set the position of the second ear, use [Delta mirror] value
Add a new group
Draw the hair
Update [Z scale] and [Z translation] and [Y swivel] values
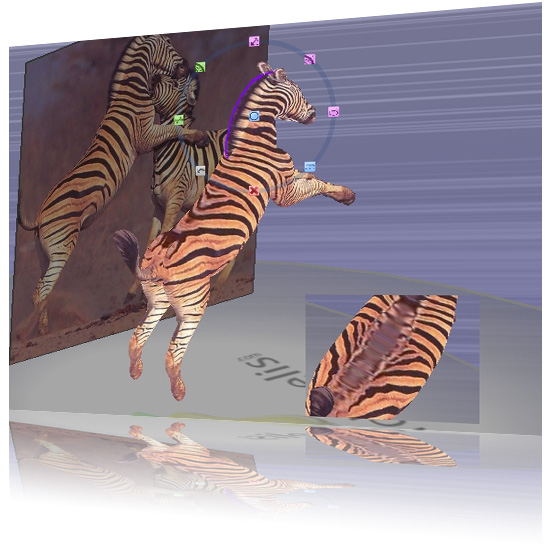
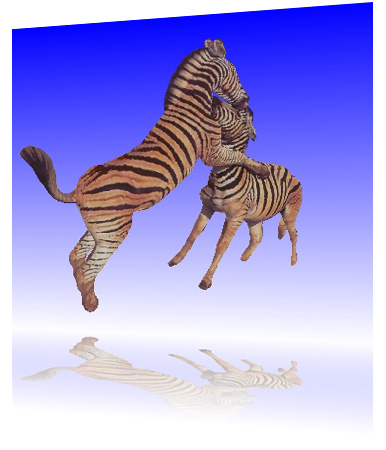
Now, your model is completed
see the resulting textured model
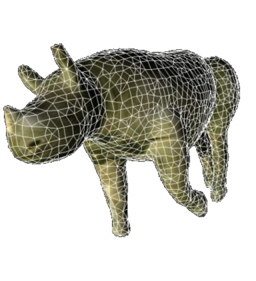
see the mesh
